Now Reading: Build mason jar DIY rain gauge – Home made rainfall meter
-
01
Build mason jar DIY rain gauge – Home made rainfall meter
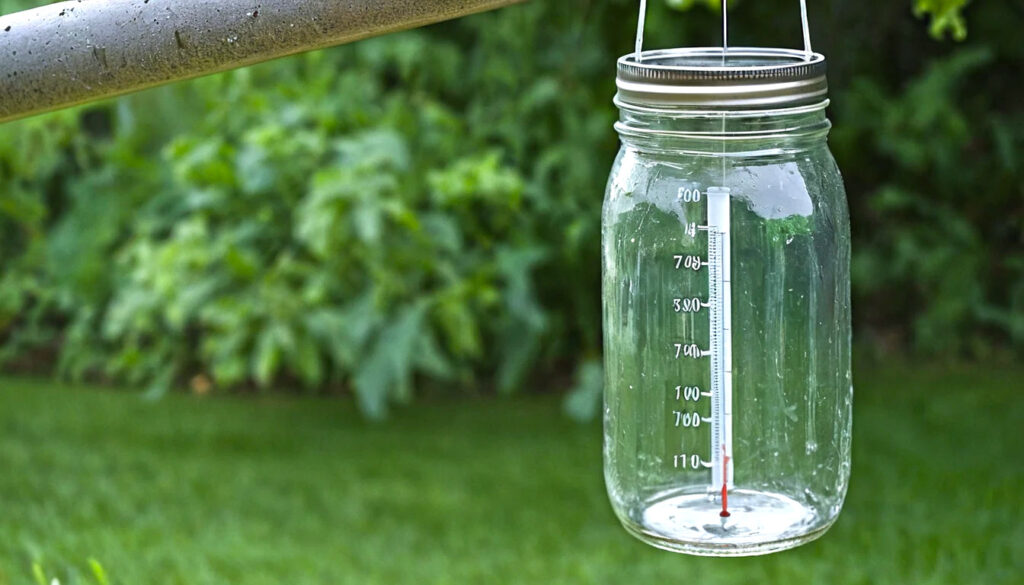
You don’t need expensive weather gadgets to track the sky’s mood. With a little glass, a ruler, and some elbow grease you can build a perfectly functional mason jar DIY rain gauge, home made rainfall meter that sits proudly in your backyard and tattles on every drizzle, downpour, and tropical tantrum. This is part science experiment, part garden decor, and entirely satisfying.
Why make a mason jar DIY rain gauge, home made rainfall meter?
Because it’s cheap, charming, and strangely heroic to measure nature with a jar. A homemade rain gauge lets you compare your backyard rain totals with local forecasts, learn more about microclimates, and create a decorative rain gauge that actually does the job. It’s a manual rain gauge, a little rain monitor, and a conversation starter all rolled into one.
Materials and tools (what you’ll need right now)
- One wide-mouth mason jar (or any clear glass jar; a glass rain gauge look-alike works fine)
- Waterproof marker or permanent marker
- A ruler or measuring tape (metric or inches — your call)
- Small rocks or pebbles (for stabilizing)
- A wooden stake or metal rod (to secure the jar in the ground)
- Clear packing tape (optional)
- Scissors and funnel (funnel helps pouring water out if needed)
- Zip ties or twine (to attach jar to stake)
This list keeps things simple — no soldering, no apps, no batteries. You’re building a custom rain gauge, not a spaceship.
Step-by-step: build your mason jar DIY rain gauge, home made rainfall meter
- Clean the jar. Remove labels, dry it, and get ready to face the elements.
- Add stabilization. Fill the bottom with a couple of inches of pebbles. This prevents the jar from toppling when the wind gets dramatic.
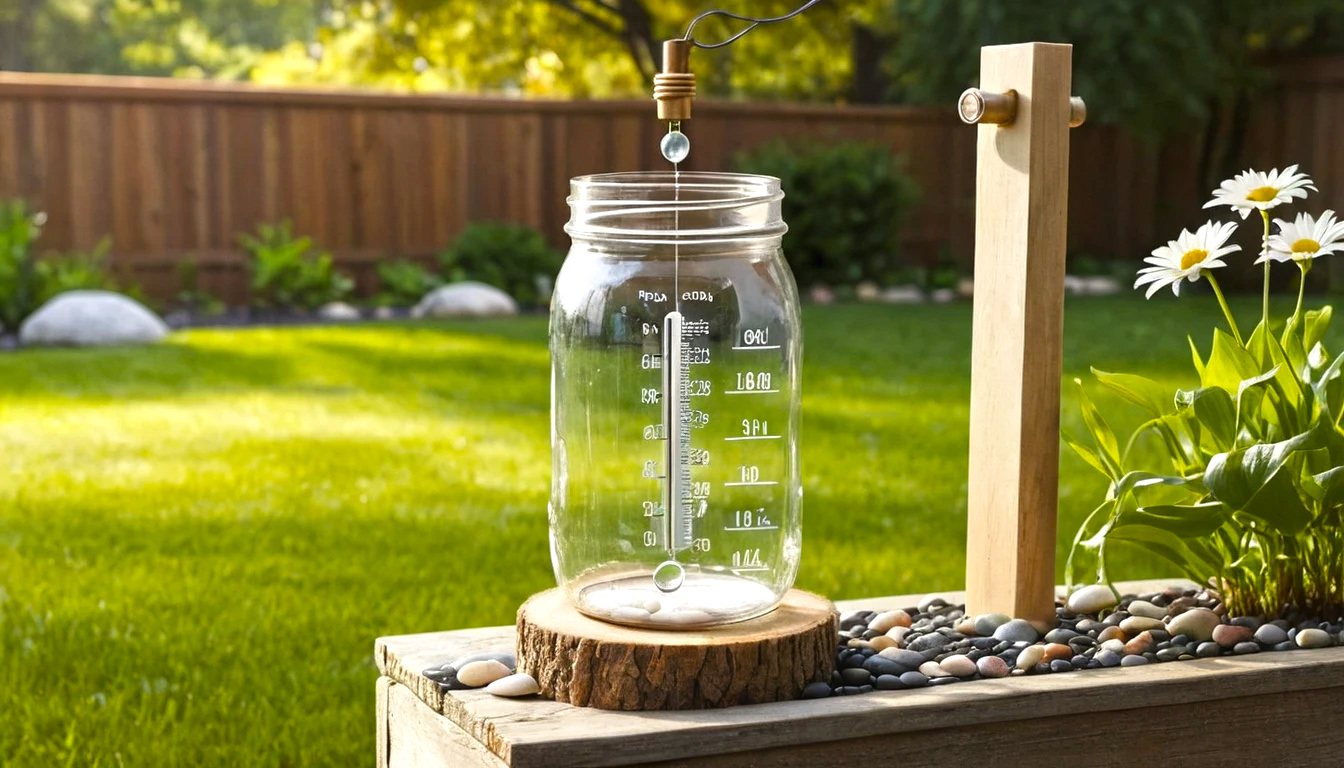
- Mark measurements. Stand the ruler against the inside of the jar and use the permanent marker to mark every 0.1 inch or 1 mm — whatever resolution you prefer. Label whole numbers clearly (0.5, 1.0, 1.5 inches or 10 mm, 20 mm). This turns your jar into a proper rainfall meter.
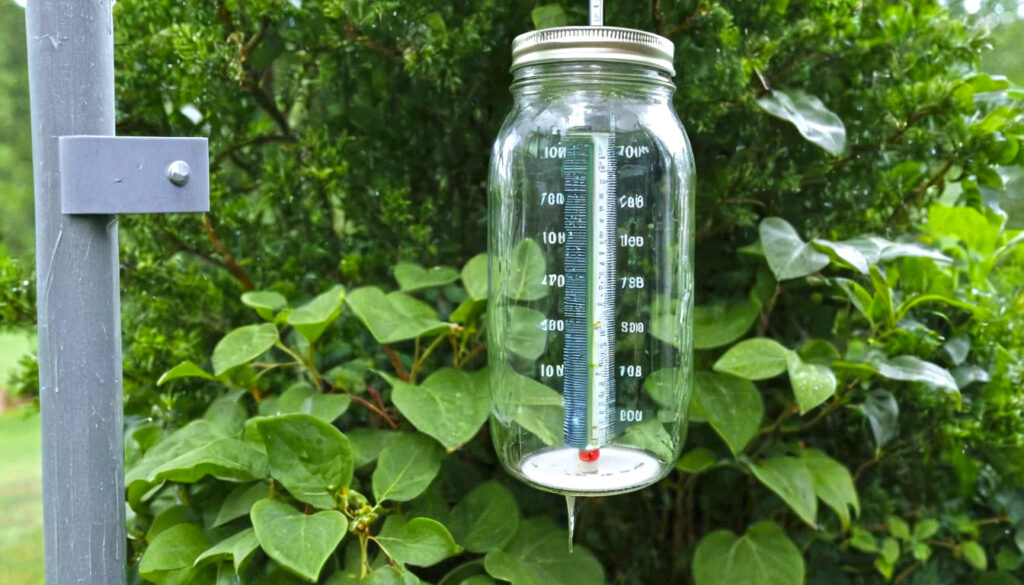
- Place and secure. Drive your stake into the ground in an open area (away from overhangs or trees). Attach the jar with zip ties or twine so the mouth faces up and the jar is stable. The top rim should be level with the ground or slightly above — this minimizes splash errors common with standard rain gauges.
- Record consistently. Check the jar at the same time each morning. Read the measurement at the meniscus (that little dip in the water surface) and note it in a log. Congratulations, you now have a backyard rain gauge.
Pro tips
- Place the jar away from walls, roofs, and tree canopies to avoid soggy bias.
- Using a glass jar rather than colored or frosted ones transparency makes reading the lines easy and precise.
- If you live in a windy spot, build a small wind shield with a perforated tube around the jar to reduce splash-outs.
- For accuracy compare your readings with a nearby standard rain gauge occasionally. A rain monitors check helps catch long-term drift.
Common mistakes and quick fixes
Mistake: jar toppled and you lost the water. Fix: add more pebbles and anchor the stake deeper.
Mistake: marker wiped off after several rains. Fix: seal markings with clear packing tape or use a paint pen rated for glass.
Mistake: reading at an angle and overestimating rainfall. Fix: always crouch to eye level — read the meniscus straight on.
Mistake: placing under eaves and getting roof-runoff. Fix: move it to an open patch of lawn.
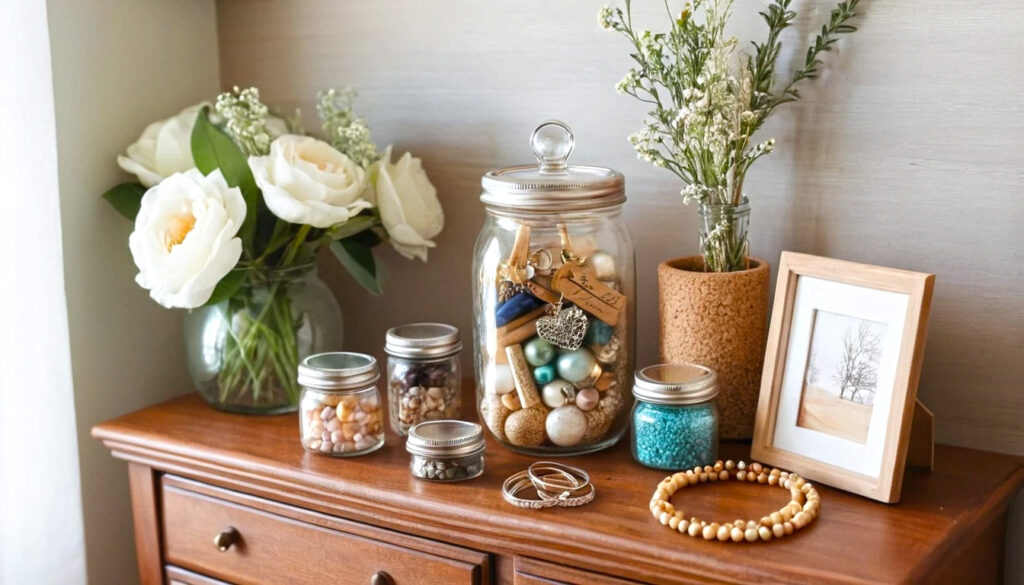
Design alternatives and varieties
Want a decorative rain gauge? Wrap twine and tiny shells around the jar for coastal cottage vibes or paint a chalkboard section to label dates. For a more professional look, embed a removable inner graduated tube inside the jar for easier readings — this hybrid turns your glass rain gauge into something between a weather gauge and a craft show piece. Prefer something that blends with garden beds? Build a low-profile, rustic wooden frame to hold the jar and call it a custom rain gauge planter when not in use.
My little real-life confession
I once left my homemade rain gauge under a maple tree because it “looked cozy.” It recorded two mysterious dry days while the rest of town drowned. Lesson learned: even the best decorative rain gauge is useless if it’s in the wrong spot. After relocating it to a sunlit patch of lawn, my readings matched the local rainfall meter and my pride was restored.
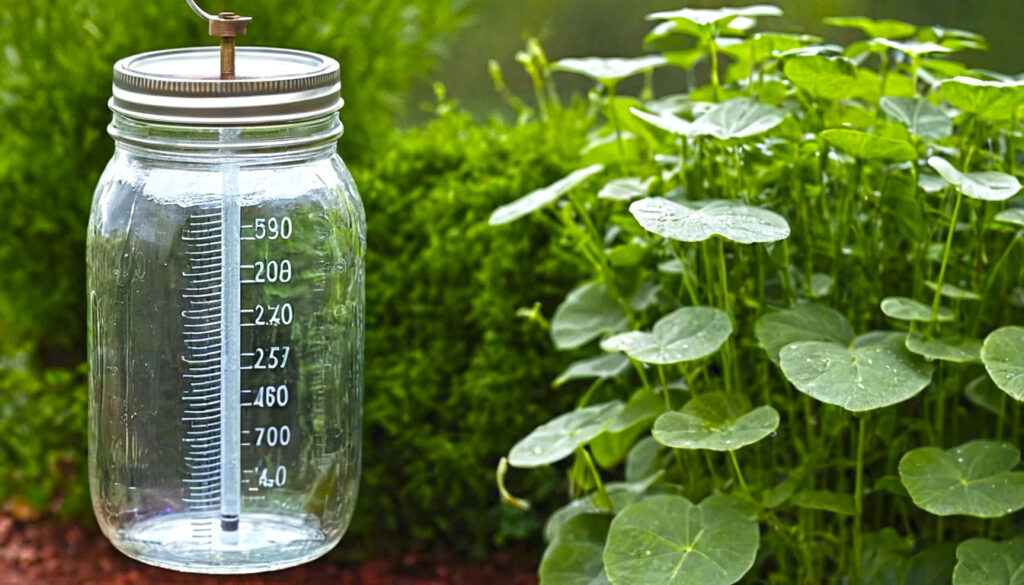
Tracking and using your data on your backyard rain gauge
Treat this as a simple rainfall meter. Use your logged numbers to decide when to plant, when to pause watering, or when to celebrate a reliably soggy spring. If you love patterns, average monthly totals, compare seasons, or plot a little graph — you’ll start noticing trends that make you sound like you know what you’re talking about at garden club.
Final notes: why this works?
A mason jar DIY rain gauge, home made rainfall meter is a brilliant mix of function and charm. It’s a standard rain gauge in spirit — you’re measuring precipitation directly — and because it’s manual, it teaches patience and observation. Whether you call it a homemade rain gauge, backyard rain gauge, or a simple rain monitor, it’s a practical DIY that rewards curiosity.
Go on — make one. It’s cheap, cheerful, and the next time someone says “it’s raining cats and dogs” you can produce a precise number and sound quietly smug.