Now Reading: How to make personalized homemade nail polish
-
01
How to make personalized homemade nail polish
How to make personalized homemade nail polish
SubaGift Ideas, Uncategorized, DIY Projects, Valentine Gift Ideas for Her, Anniversary Gift Ideas for Her
My quest for the perfect shade turned into a full-on kitchen chemistry episode. Spoiler: I still have glitter in places glitter should never be. But the color? Chef’s kiss. If you’ve ever side-eyed a $15 bottle thinking, “I could do this at home,” you’re in the right place. Let’s make personalized homemade nail polish with personality, shine, and just enough chaos to keep life interesting.
Homemade nail polish isn’t just color in a bottle—it’s bottled personality, sprinkled with glitter and a dash of chaos.
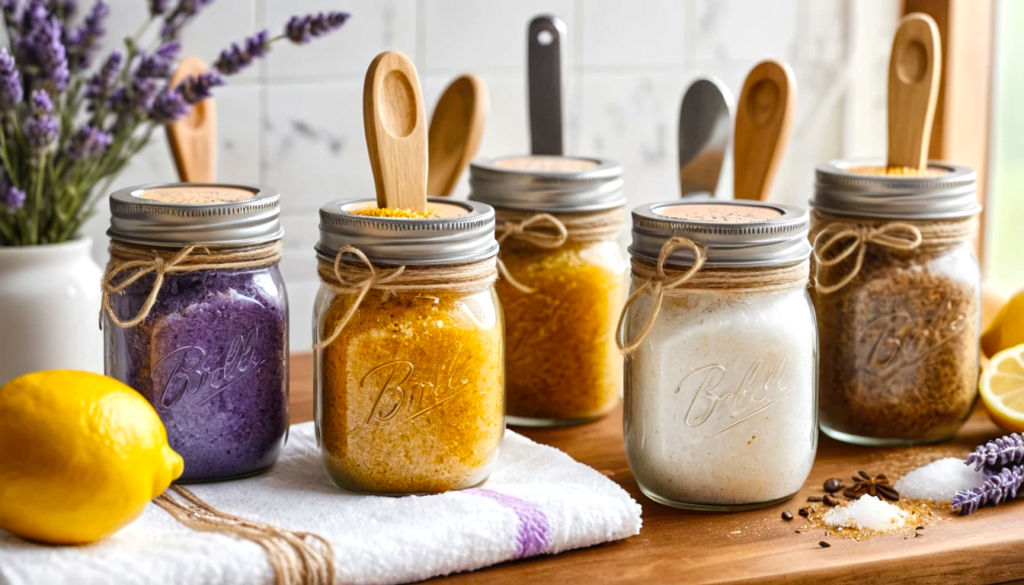
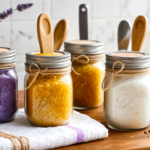
Materials and tools needed for homemade nail polish
- Empty bottles: 5–10 ml with mixing balls (because your forearms deserve a break).
- Base: clear nail polish or an indie “suspension base” for pigments.
- Pigments: cosmetic-grade mica, mineral powders, or eye shadow crumbs you broke during your minimalist phase.
- Add-ins: nail polish fast dry drops, liquid latex for clean-up, and optional fine glitter (be brave).
- Tools: funnel, small scoop, mixing stick, paper to catch spills (you will spill), and gloves (you’ll thank me later).
- Extras: label stickers for naming your masterpieces — “pumpkin spice chaos” is taken, sorry.
Tip: work near ventilation. Even saints don’t love solvent fumes.
Step-by-step homemade nail polish recipe (with no tears)
- Prep your station: clear the deck. Put down paper. Line up your pigments like a tiny beauty army.
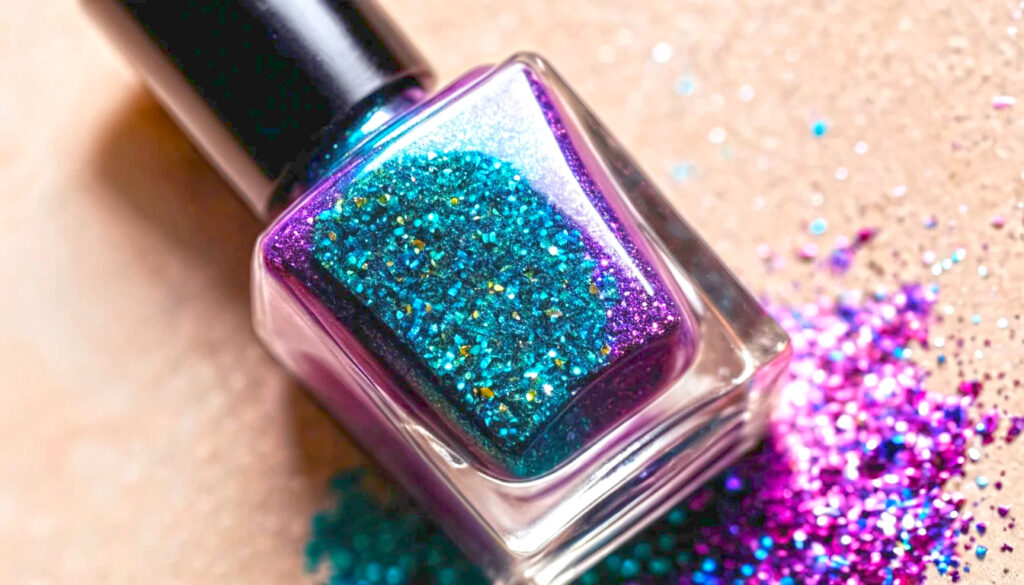
- Choose your base: fill your bottle halfway with clear polish or suspension base.
- Goal: fluid enough to mix, thick enough to hold pigment.
- Add pigment: start with 3–5 tiny scoops mica per 5 ml. Roll the bottle between your palms; then shake like you’re late for brunch.
- Adjust opacity: want coverage? Add more pigment or a touch of white base. Sheer? Add more clear.
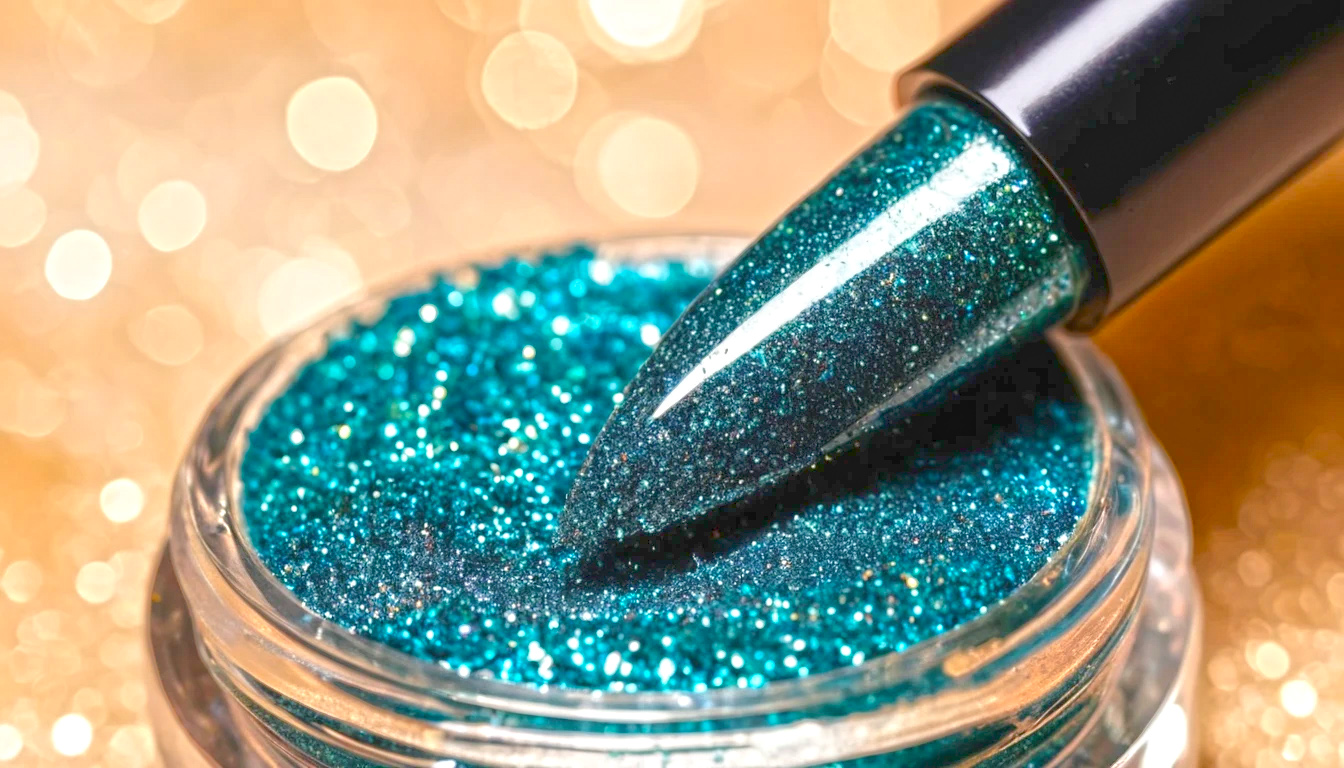
- Finish and finesse: add 1–3 drops of nail polish fast dry solution. Optional: a micro pinch of ultra-fine glitter and a whisper of pearlescent powder.
- Test swatch: brush on a nail wheel or a sacrificial spoon. Let it set. Check streaks, level, and shine.
- Name it, claim it: label with the shade, date, and vibe. This is craft-meets-archive.
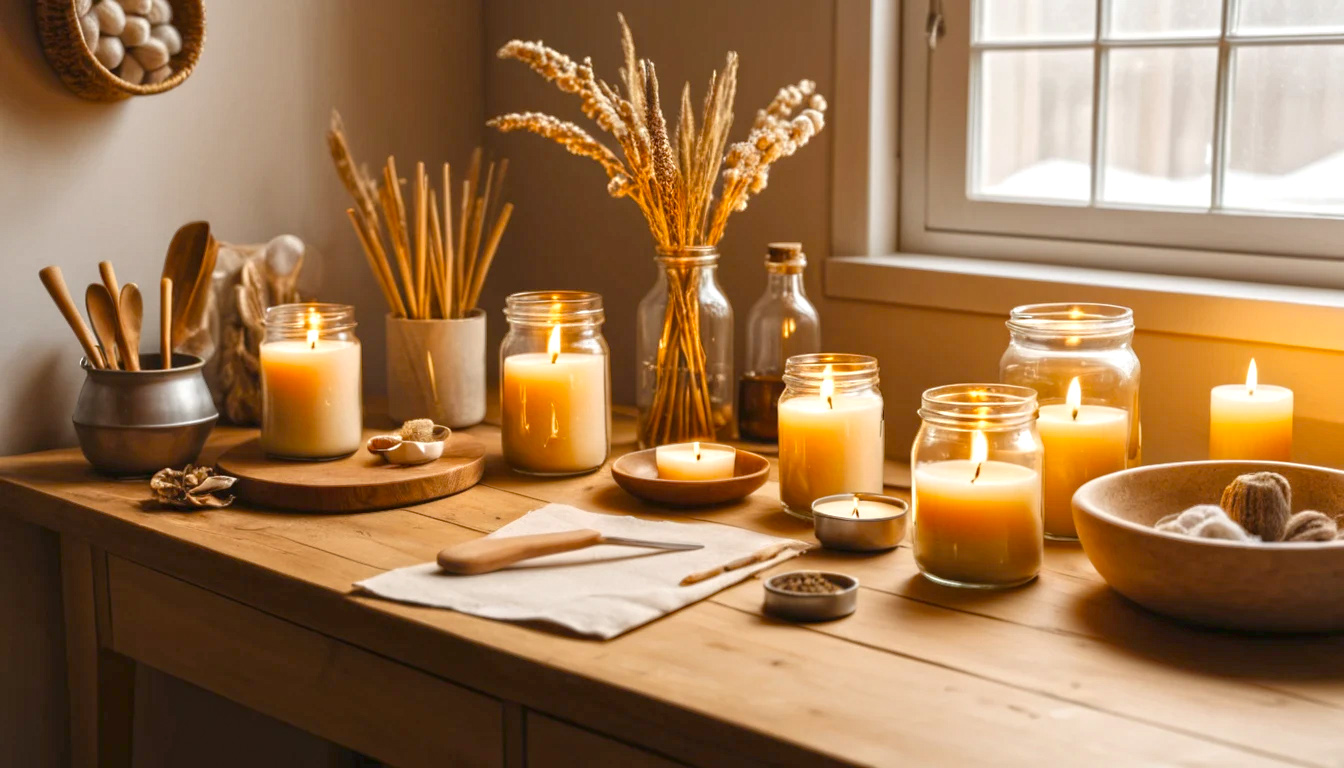
Homemade nail polish: pro tips that saved my sanity
- Pigment discipline: more is not more. Overloading causes sludge. Start small; sneak up on saturation.
- Mixing balls are heroes: stainless steel beads = smoother color and your wrist doesn’t mutiny.
- Shimmer science: pair mica with a dash of transparent base for that American salon-level glow. USA diy beauty hack: warm the bottle in a bowl of lukewarm water for 2 minutes—mixes smoother, less bubble drama.
- Longevity boost: a drop of cosmetic-grade silicone improves slip and self-leveling without dulling shine.
- Storage smarts: store upright, cool, and labeled. Your future self will thank you (and judge you less).
Mistakes to avoid (and fast fixes)
- The pancake batter problem: too thick? Add a few drops of clear base; shake and test again.
- Solution: keep it pourable, not spreadable.
- Glitter clumps and bald spots: if it sinks or piles, you use chunky glitter. Swap to cosmetic micro-glitter and add a whisker more suspension base.
- Streak city on nails: you need a smoother brush load.
- Fix: thin first coat, wait, then a slightly thicker second. Finish with fast-dry topcoat.
- Bubbles from over-shaking: roll the bottle between palms instead of shaking.
- Emergency: let it sit 5–10 minutes; bubbles will ghost.
- Color shift after drying: some pigments look darker dry.
- Pro move: swatch two layers before deciding if it needs a tweak of white or black.
How to apply it like a pro? (plus, diy nail paint remover)
- Prep: clean nails: remove oils, push back cuticles. Base coat: better adhesion and stain insurance.
- Application: three-stroke rule: center, side, side. Two thin coats beat one thick regret. Fast dry: use a quick-dry topper or a drop of nail polish fast dry solution per nail for a salon-speed finish.
- Clean-up: dip a fine brush in remover, trace edges. Liquid latex peel-off barrier is clutch if you’re messy.
- Removal (gentle diy): for diy nail paint remover, try this non-acetone home hack: soak cotton in warm water + a splash of rubbing alcohol; press for 30–45 seconds, wipe, repeat. For stubborn glitter, hold longer. You can also try diy nail polish remover using a mix of vinegar and lemon; it’s slower but kinder. If you need oomph, homemade nail paint remover with a bit of 70% isopropyl alcohol works in a pinch.
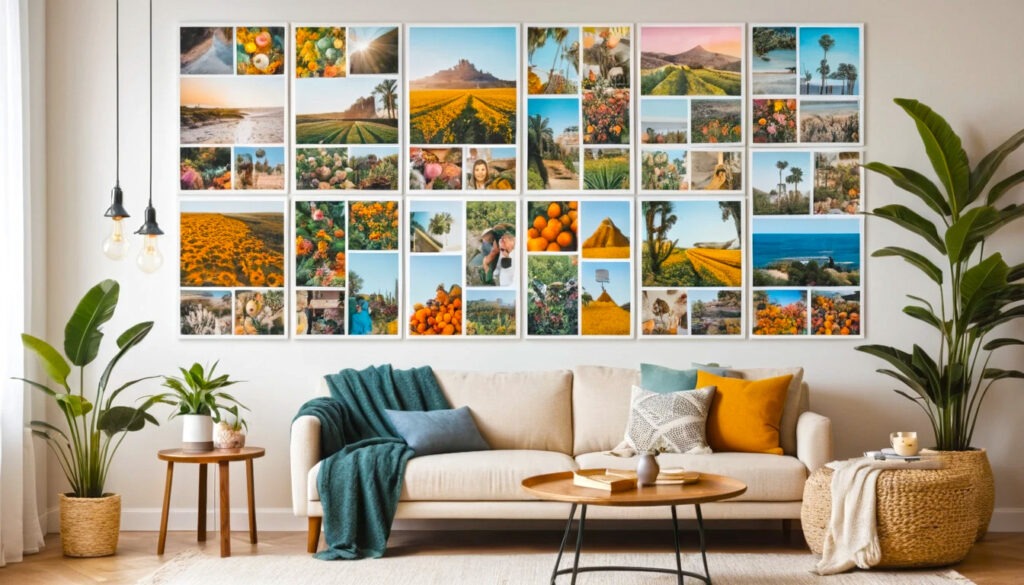
Design alternatives and nail art ideas diy
- Soft shimmer nude: label: barely there but make it fancy. Blend: nude base + pearl mica + micro sparkle.
- Smoked plum cream: label: library after dark. Blend: plum pigment + drop of black + satin finish.
- Neon jelly topper: label: traffic cone couture. Blend: sheer clear base + neon mica for juicy layers over white.
- USA-based local vibe: think “road trip sunset” gradients: coral to dusty rose, finished with a glassy topcoat for diner-booth shine. For nail art ideas diy, try dotting tools, striping tape, and a toothpick marble—cheap, cheerful, highway-approved.
My real-life experience making homemade nail polish
The first time I brewed a shade, i panicked when it looked like oatmeal glittered. I learned three truths: thin layers are magic, micro-glitter behaviors, and naming shades is half the joy. My proudest concoction was a cinnamon-rose shimmer that made my hands look like I’d just signed a record deal. It was born from two mica scraps and a stubborn mood. That’s the thrill of homemade: you can mix the exact vibe you want, right in your kitchen, and flex it at brunch or boardrooms without spending luxury-brand cash.
Homemade nail polish: the custom color revolution
Homemade nail polish lets you choose ingredients, control finish, and nail your exact shade without compromise. Whether you’re in a cozy American apartment or a sprawling studio, the process is simple, budget-friendly, and wildly creative. Once you master the basics, you’ll spin up a rainbow of signature colors, a reliable homemade nail polish diy workflow, and even your own diy homemade nail polish stash that feels boutique-level without the markup.
Final polish wisdom: test, tweak, and trust your eyes. Your best shade is the one that makes you grin before it’s even dry.