Now Reading: How to make mason jar snow globes that actually spark joy
-
01
How to make mason jar snow globes that actually spark joy
Tiny winter universes tucked into glass jars are basically magic you can shake. I wrote this after tipping hot cocoa on my own rug and realizing the only clean-up worse than spilled marshmallows is a bored child. Enter mason jar snow globes: cheap, cheerful, and dangerously addictive to gift give. Below i walk you through an eye-catching description, materials and tools, step-by-step instructions, pro tips, mistakes and fixes, alternate designs, and a slice of real-life writerly confession. Ready? Let’s shake.
What are mason jar snow globes?
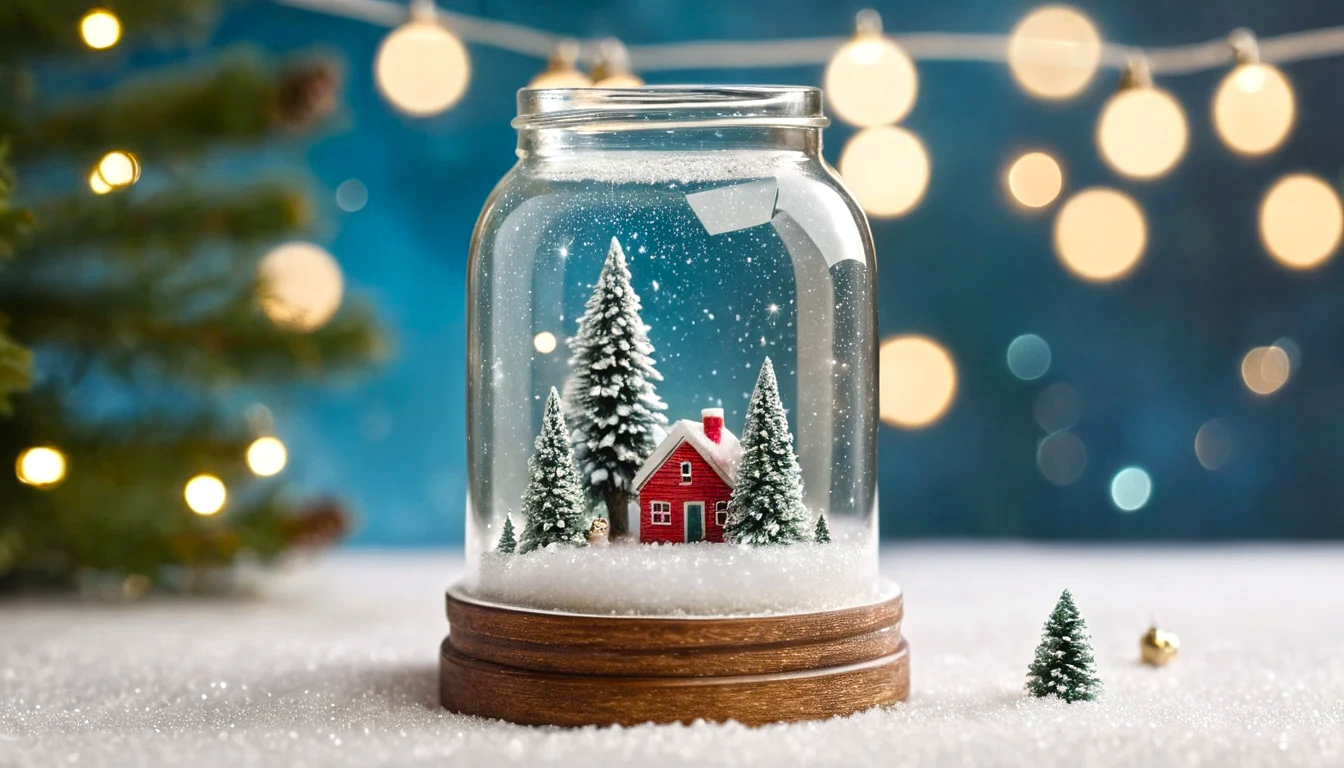
Think of a snow globe jars as a miniature stage: a scene, a glitter snowfall, and a watery atmosphere contained by a lid. Whether you call them canning jar snow globes or jam jar snow globe crafts, the charm is the same — nostalgia in a glass jar. They’re perfect as christmas snow globe mason jar centerpieces, cozy mantel decorations, or a goofy diy gift for aunt marge.
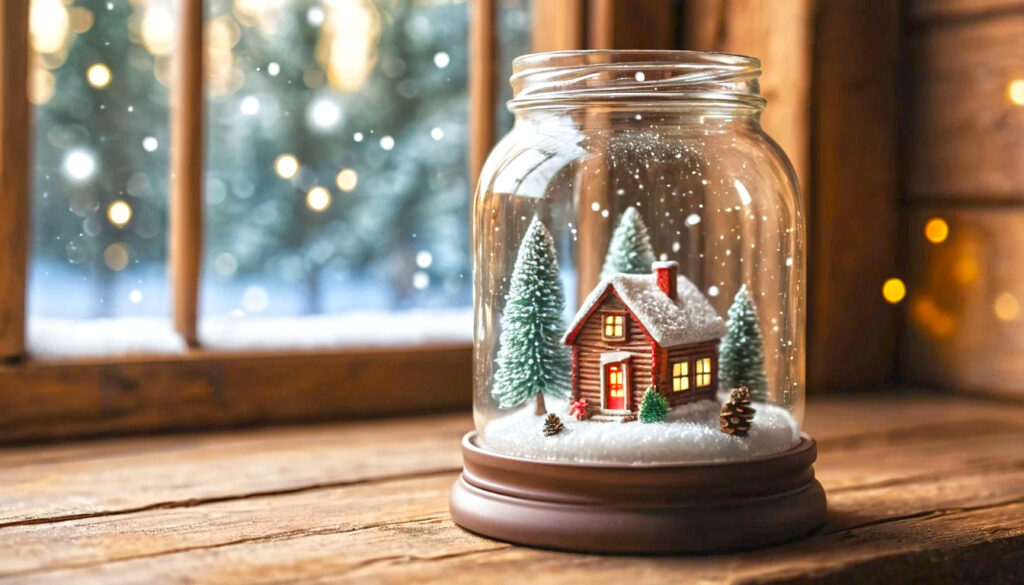
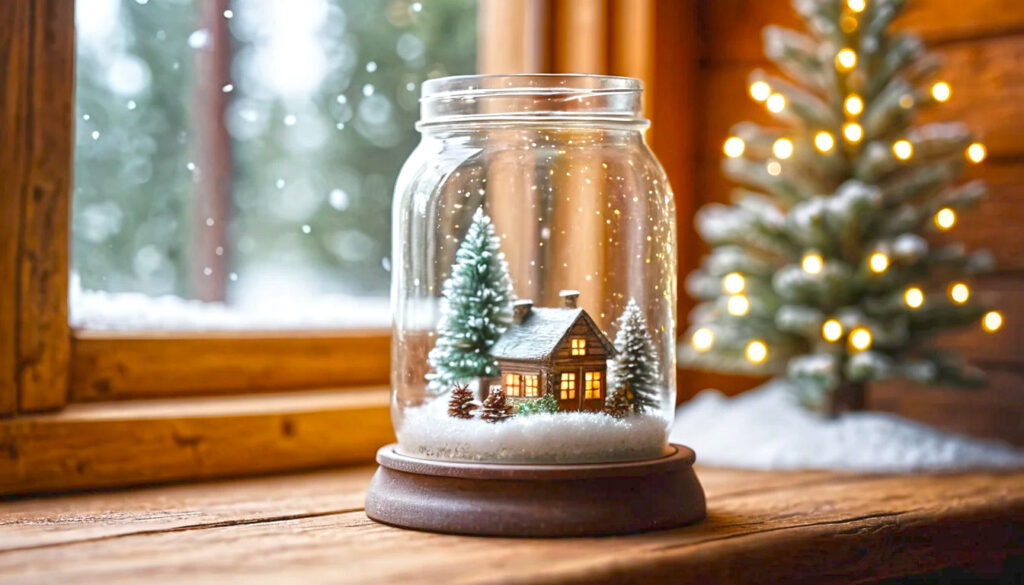
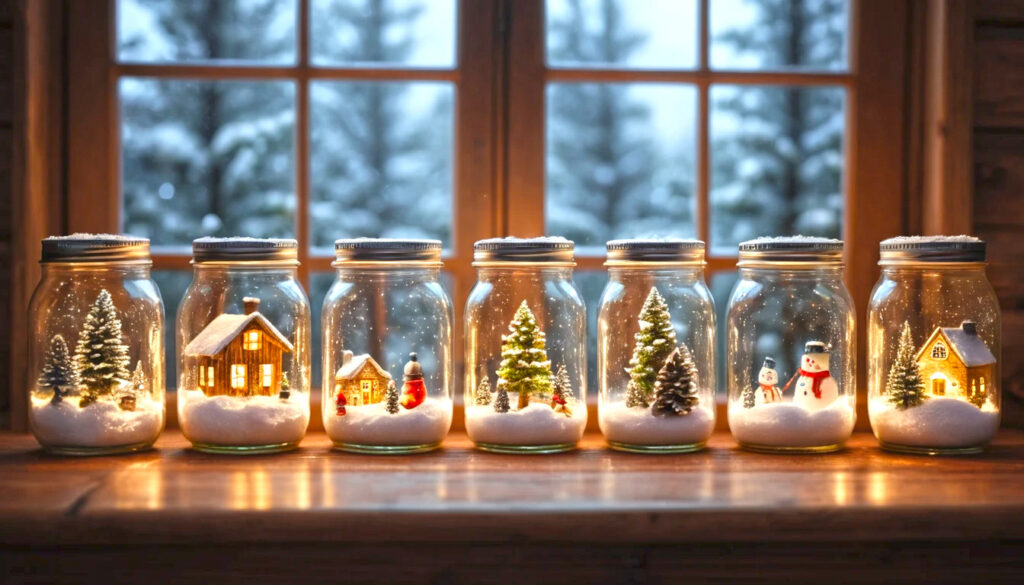
Picture a clear glass jar snow globe holding a tiny lamp lit cabin, a sliver of faux snow catching the light, and a ribbon tied around the lid. When shaken, the glitter drifts slowly like a polite blizzard. That’s the visual hook that stops a scroller and starts a smile.
Materials needed
- One clear glass jar (regular or wide-mouth) — glass jars for snow globes work best.
- Waterproof miniature figures or a small printed photo (for a diy picture snow globe mason jar).
- Epoxy or waterproof craft adhesive.
- Distilled water.
- Glycerin (optional, slows glitter fall).
- Fine white glitter, iridescent flakes, or “snow” for jar snow globe effect.
- Waterproof sealer (clear silicone recommended).
- Decorative ribbon, faux moss, small pinecones for base styling.
Tools needed
- Hot glue gun (use sparingly and away from fingers).
- Tweezers for placing small items.
- Funnel or small measuring cup.
- Scissors and craft knife.
- Small paintbrush for adhesive cleanup.
Step-by-step instructions
- Choose your base: pick a glass jar snow globe style — a vintage jam jar snow globe looks sweet; a wide-mouthed mason jar holds larger scenes. Clean and dry the jar thoroughly.
- Prepare the scene: glue your miniature or printed photo to the inside of the lid (not the jar). For a diy gift card snow globe in a jar, fold a small card into a waterproof sleeve before attaching. Let the adhesive cure fully.
- Mix the liquid: fill the jar almost to the top with distilled water, add a teaspoon of glycerin (one drop is fine), and stir in a pinch of fine glitter. Glycerin gives the glitter a graceful descent.
- Attach the lid scene: dab waterproof epoxy around the base of your attached figure, then screw the lid onto the jar tightly. For step 4: seal & shake your mason jar snow globes, add clear silicone around the inside rim for extra leak protection and wipe away excess.
- Finish with flair: once sealed and dry, add ribbon, hot-glued moss, or a name tag to the lid. Give it a test shake — if the glitter swirls prettily and the scene stays put, you win a small glass trophy.
Pro tips
- Use distilled water to keep your globe crystal clear and reduce clouding.
- If your glitter sinks instantly, add more glycerin very slowly.
- For photos, laminate or use clear packing tape to protect the image from moisture.
- Want vintage charm? Swap white glitter for larger, slow-falling sequins.
- If making multiple, set up an assembly line: glue all figures first, then fill jars.
Common mistakes to avoid and solutions
Mistake: cloudy water. Solution: always use distilled water and avoid cheap glue that off-gasses into the liquid.
Mistake: figure floats or topples. Solution: use strong epoxy and allow full cure time before adding water.
Mistake: leaks. Solution: add a bead of silicone sealant around the lid rim and let it dry 24 hours.
Mistake: glitter clumps. Solution: shake glitter in a dry container before adding and avoid chunky holiday glitter unless that’s the point.
Design alternatives and varieties
- For a diy mason jar snow globe with a personal touch, try a diy picture snow globe mason jar using a tiny family photo inside.
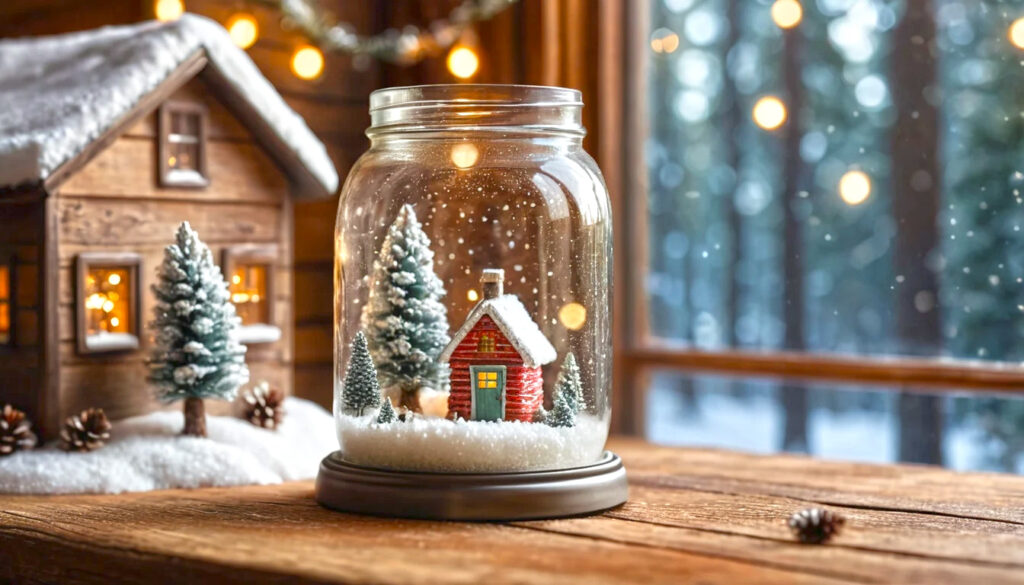
- For holiday swaps, make a diy christmas mason jar snow globe with miniature trees, or a mason jar christmas snow globes trio for a centerpiece.
- Want a keepsake? Make a diy mason jar snow globe with baby’s first tooth box or a miniature graduation cap inside.
- If you prefer no-water options, create a dry jar snow globe: glue glitter to a domed lid and shake the outside — zero leaks, same magic.
My real-life experience
My first attempt used tap water and a glitter avalanche. The globe looked like someone had microwaved a glitter factory. After switching to distilled water and adding glycerin, the snow drifted like a cinematic slow-motion scene. I gifted one to my neighbor, who later returned it because her cat thought it was a chew toy. Lesson learned: label for pets.
Final thought: gift-ready and guilt-free
Jar snow globe craft turns simple glass jars into keepsakes that feel hand-made, expensive, and slightly enchanted. Whether you call them snow globe jars, canning jar snow globes, or glass jar snow globe creations, these projects are low-cost, high-delight. Try one, then make three more — you’ll understand why my mantel now looks like a small, tasteful winter village. Happy crafting, and may your glitter fall slowly.