Now Reading: How to turn any painted plant pot into a holiday headliner
-
01
How to turn any painted plant pot into a holiday headliner
How to turn any painted plant pot into a holiday headliner
SubaValentine Gift Ideas for Her, Christmas Gift Ideas for Her, Holiday Gift Ideas, DIY Projects, Gift Ideas
If a plant could write a yelp review, the very first complaint would be, “great sunlight, terrible outfit.” That’s where a painted plant pot comes into your canvas, your comedy stage, your small-scale revolution against boring beiges. I’ve botched enough designs and spilled enough paint to confidently declare this is the most fun you can have with dirt, clay, and questionable color choices.
A painted plant pot doesn’t just hold roots—it holds personality, sass, and the occasional reindeer nose.
Painted plant pot beginner-friendly overview
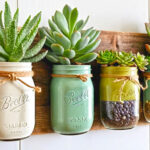
A painted plant pot is more than decor; it’s a tiny billboard of your style, your mood, and your tolerance for paint drying times. Whether you live in a studio apartment or sprawl-suburb USA, jazzing up planters is a low-cost, high-joy DIY that turns basic terracotta, ceramic, or plastic into gallery-worthy home decor. Bonus: it makes your cactus look like it pays taxes.
Materials and tools for a painted plant pot that survive watering
- Pots: terracotta, ceramic, or plastic planters.
- Use the right paint for plastic pots if you’re going non-porous.
- Primers and sealers:
- Primer: for plastic, grab a bonding primer; for terracotta, a matte gesso or masonry primer.
- Sealer: clear acrylic sealer (matte or satin).
- Paints:
- Acrylic paint for plant pots (use indoor/outdoor formulas).
- Specialty paint for plastic plant pots, paint for plastic flowerpots, and paint for plastic planters if going plastic.
- Best paint to use on flowerpots includes outdoor acrylic; best paint to use on plant pots is usually acrylics plus sealer for durability.
Tools:
- Brushes: flat, round, detail liners.
- Tape: painter’s tape for crisp lines.
- Extras: stencils, paint pens, palette, drop cloth, sanding sponge, and a lazy susan for smooth rotations.
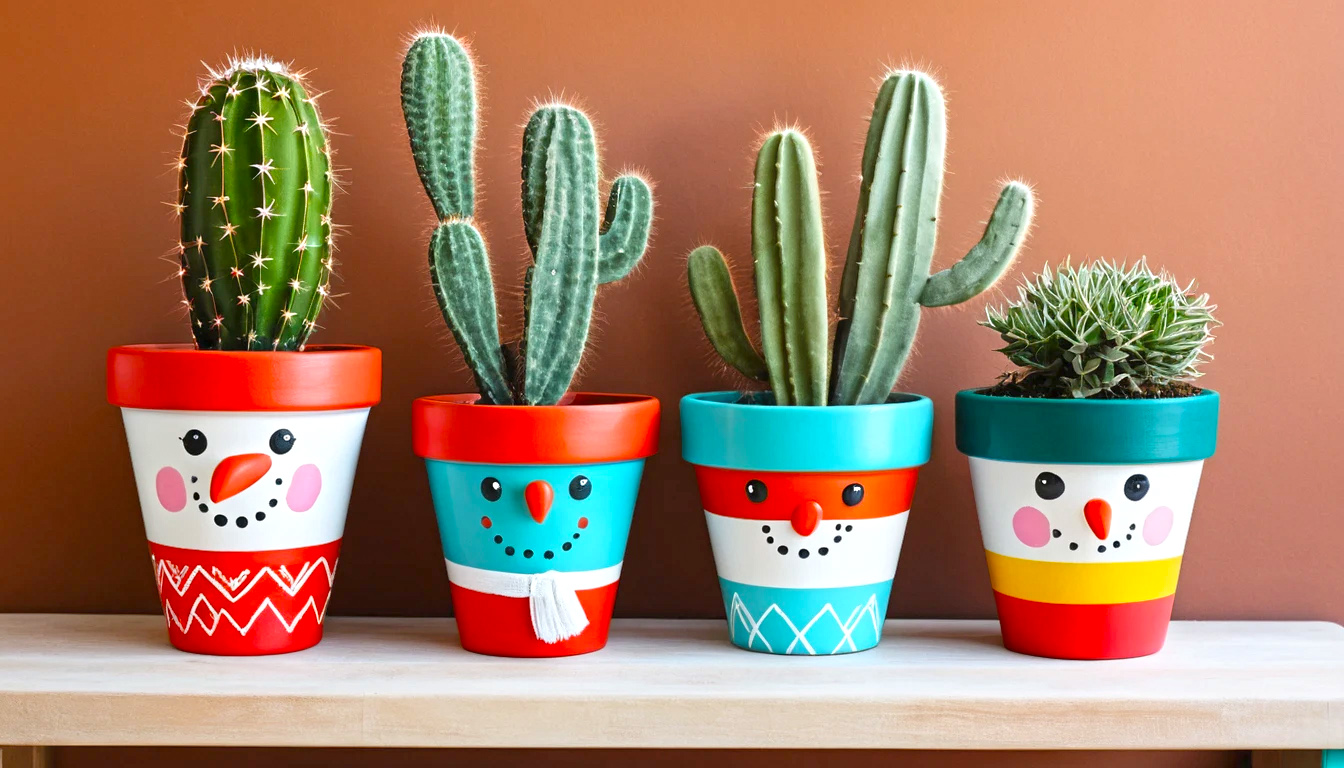
For christmas designs, smaller terracotta pots are perfect canvases for snowmen, reindeer faces, and Santa-belt trim—simple shapes, big payoff. If you need idea fuel, curated galleries of acrylic painted pots can spark fresh patterns and palettes.
Step-by-step: from meh to marvelous (painted plant pot edition)
Step 01: prep the pot
- Clean:
- Label: degrease
- Wipe with mild soap and water; let dry fully. Lightly sand plastic for tooth.
- Prime:
- Label: bond
- Apply bonding primer for plastic, for terracotta, a thin gesso layer. Let dry per can.
Inspiration tip: before holiday crafting, sketch your christmas painted flower pots plan—snowman circles, carrot noses, coal dots—and map colors so you don’t improvise into a blobby snowstorm.
Step 02: base coat
- Painting base:
- Label: smooth start
- Two thin coats of acrylic paint for plant pots. Let each coat dry.
- For plastic, consider dedicated paint for plastic pots or a plastic-safe acrylic.
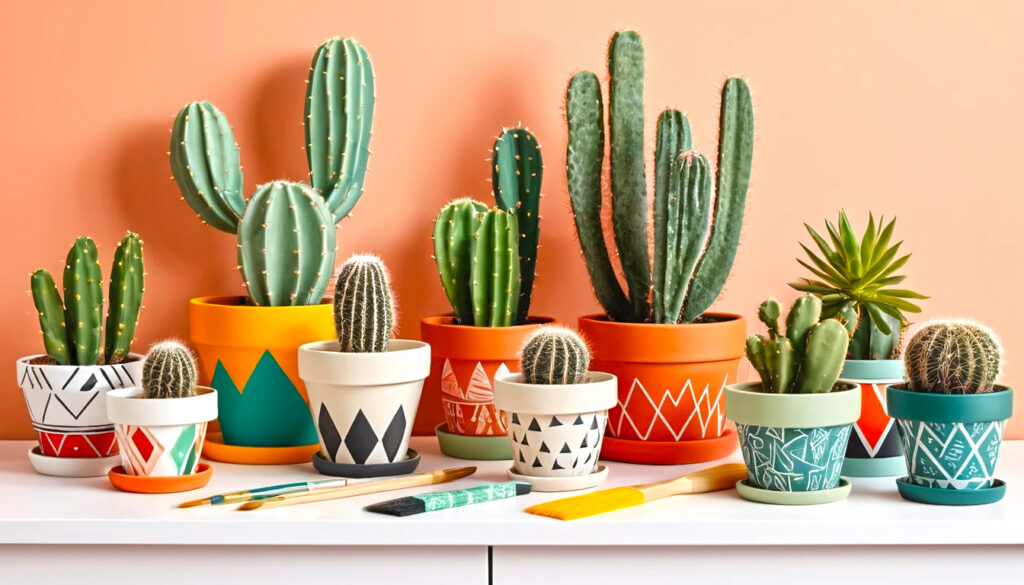
Curated acrylic ideas show that solid pastel bases make details pop without muddying your linework.
Step 03: design details
- Tape or stencil:
- Label: crisp lines
- Use painter’s tape for stripes, stencils for patterns.
- Add features:
- Label: personality
- For christmas painted plant pots, paint santa’s belt (red body, black belt, gold buckle), reindeer (brown body, white snout, red nose), snowman (white body, black coal, carrot nose).
- Layer smart:
- Label: thin layers
- Work light to dark; keep coats thin to avoid ridges.
Step 04: seal the deal
- Sealer:
- Label: protect
- Apply clear acrylic sealer (matte or satin) after 24 hours. This helps acrylic paint on plant pots resist scuffs and moisture.
Prepping, base-coating, and sealing are holy trinity for durable pots, especially outdoors.
Pro tips and delightful hacks
- Tape trick: burnish painter’s tape edges with a card for razor-sharp lines on your painted plant pot.
- Two-tone success: paint the rim and saucer a contrasting color; it screams “intentional.”
- Texture play: dry brush highlights or stipple patterns to add depth when using acrylic paint for plant pots.
- Holiday switch-up: create christmas painted flower pots in classic red and white, then rotate to winter blues for January zen. For extra cheer, pair with christmas painted plant pots featuring candy cane stripes and tiny wreaths.
Common mistakes to avoid (and how to fix them)
- Peeling paint on plastic: you forgot primer. Sand lightly, prime properly with products compatible with acrylic paint for plastic plant pots, repaint, and reseal.
- Streaky finish: too much paint, too little patience. Thin coats of acrylic paint for plant pots, dry thoroughly.
- Bleeding under tape: press tape firmly and paint away from edges. If bleeding happens, outline with a paint pen for a “handmade on purpose” look.
- Moisture rings: seal the inside lip and saucer. Terracotta is porous; protect it or prepare for artful water stains you didn’t commission.
- Holiday overload: if your christmas painted flower pots look like a peppermint exploded, balance with solid-color partners and minimal designs on adjacent christmas painted plant pots.
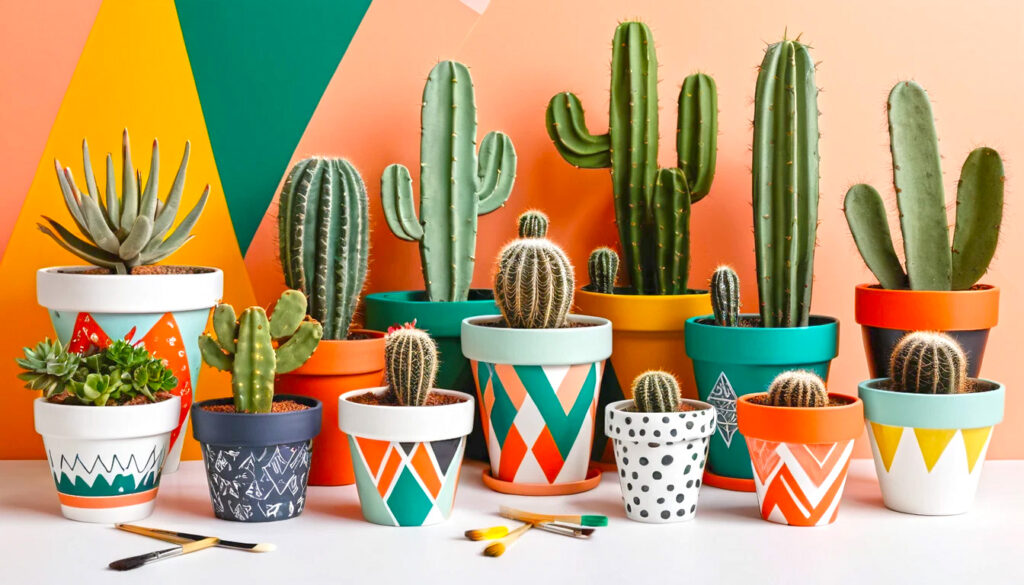
Design alternatives and varieties for every mood
- Minimal modern: black rim, white body, one discrete stripe. Great for apartments and “i only wear monochrome” personalities.
- Desert charm: cactus pot painting with sunset gradients—think coral, ochre, and dusty teal.
- Botanical whimsy: freehand leaves and vines; it’s forgiving and fancy.
- Rustic Americana: weathered navy and cream for a “porch swing in the USA” vibe; pairs beautifully with terracotta.
- Festive flair: alternate sets of christmas painted flower pots and christmas painted plant pots so your shelf looks coordinated, not chaotic.
- Gloss vs. Matte: gloss screams “showroom,” while matte whispers “chic gallery.”
My real-life lessons from a paint-splattered
The first painted plant pot i attempted ended with blotches, fingerprints, and a heartbreakingly wonky stripe that haunted me. Then i discovered primer and painter’s tape—like finding out guacamole does belong on everything. My proudest set? A trio of christmas painted flower pots with gold rims and simple holly leaves, paired with two understated christmas painted plant pots in sage and cream. They survived a curious cat, a forgetful watering schedule, and a midwinter “everything must sparkle” phase. And yes, i did knock one off the shelf; the sealer saved it from the dreaded chip apocalypse.
Choosing the right products without a meltdown
- Terracotta and ceramic: acrylic paint on plant pots is your best bet; seal inside edges to reduce moisture absorption.
- Plastic: go with acrylic paint for plastic pots and a plastic-friendly primer; durability is the name of the game.
- Outdoors: use the best paint to use on plant pots with UV resistance, then seal.
- Flower lovers: opt for the best paint to use on flower pots if you’re placing them near windows where sun exposure is intense.
One last nudge to start painting
Your plants are patient, but your shelves crave drama. Grab a brush, queue up your color palette, and let a painted plant pot become the tiny stage where your creativity does jazz hands. If your first attempt looks like abstract confusion, congratulations—you’ve made art.